# 3.0 Create a VM

---

<span style="color: rgb(0, 0, 0);">If the ISO for the operating system that you desire is not already available in the existing catalog of ISO Images, you must download it. Please do look first, to see if it is already there.</span>

1. <span style="color: rgb(0, 0, 0);">Download ISO images of VMs you'd like to virtualize:</span>
    - [Ubuntu Server](https://ubuntu.com/download/server)
    - [Ubuntu Desktop](https://ubuntu.com/download/desktop)
    - [Windows Desktop](https://www.microsoft.com/en-us/software-download/windows11)
2. <span style="color: rgb(0, 0, 0);">Upload ISOs to Proxmox</span>
    - <span style="color: rgb(0, 0, 0);">Click on a node &gt; local (node name) &gt; ISO Images &gt; Upload</span><p class="callout info"><span style="color: rgb(35, 111, 161);">**You will have to repeat the upload on each node you have**</span></p>
        
        <span style="color: rgb(0, 0, 0);"> **IMAGE SHOWING WHERE TO UPLOAD ISO IMAGES:
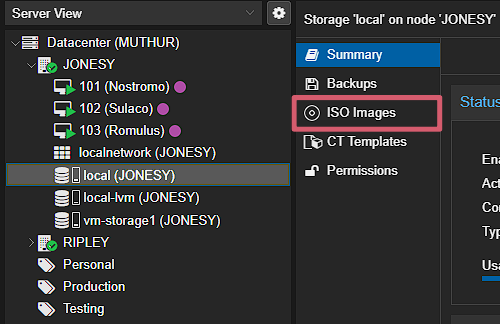
**</span>  
        <span style="color: rgb(0, 0, 0);">![image.png](https://wiki.raspberrypiclub.org/uploads/images/gallery/2025-02/scaled-1680-/YDjimage.png)</span>
3. <span style="color: rgb(0, 0, 0);">Create a new Ubuntu Server VM on the Proxmox server</span>
    - <span style="color: rgb(0, 0, 0);">Create a VM on the top right of the Proxmox GUI</span>
    - <span style="color: rgb(0, 0, 0);">Allocate enough resources *(i.e. CPU, storage, memory, etc.)* for your use case</span>

<span style="color: rgb(0, 0, 0);">**IMAGE SHOWING WHERE TO CREATE A VM:**</span>  
<span style="color: rgb(0, 0, 0);">![image.png](https://wiki.raspberrypiclub.org/uploads/images/gallery/2025-02/scaled-1680-/r3Simage.png)</span>


<span style="color: rgb(0, 0, 0);">*
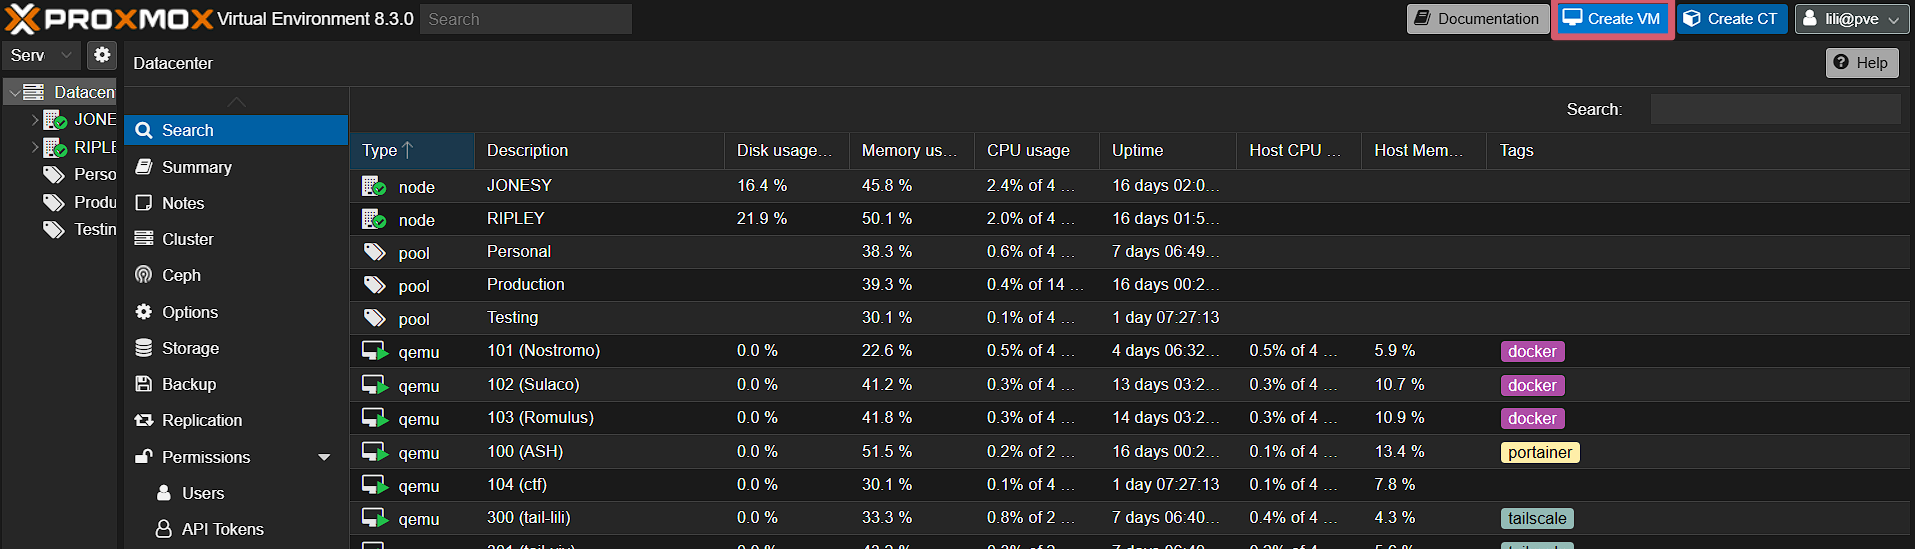
Last Updated: 2/20/2025  
Contributors: Lilian, Vivian* </span>