**\*Any confusion on command syntax/structure can be clarified in [Legend](https://wiki.raspberrypiclub.org/books/how-to-refer-to-the-documentation/page/legend)**
1. On device you want to ssh with, open a shell (e.g. PowerShell), enter the command below: - Just press Enter for the prompts - Make sure to note where the SSH keys are being stored - e.g.) C:\\Users\\\[USER\]\\.ssh\\ ``` ssh-keygen -t ed25519 ``` 2. Navigate to the .ssh folder 3. Open the public key file (ends in .pub) in Notepad and copy just the key 4. Add the public SSH key on user’s [Github account](https://github.com/) - Click on Github Profile > Settings > SSH and GPG keys > New SSH key  5. Paste the public key into user’s Github profile - Title can be anything (should note what machine it belongs to) - Key type: Authentication Key  **You should now be able to SSH into the system that has your public keys with machines that hold the corresponding private key!** *Last Updated: 2/22/2025 Contributors: Lilian, Vivian* # 2.0 Import SSH keys (on Debian Linux) ---**\*Any confusion on command syntax/structure can be clarified in [Legend](https://wiki.raspberrypiclub.org/books/how-to-refer-to-the-documentation/page/legend)**
##### **Importing Personal SSH Keys****Applicable to Personal / Home Lab setup**
1. Import the user’s GitHub keys so they can ssh from their computer: - If any new SSH keys from other devices are added, this command needs to be done again ``` ssh-import-id-gh [GITHUB USERNAME] ``` ##### **Importing Other User's SSH Keys****Applicable to the Raspberry Pi Club servers - allowing other *trusted* users ssh access to a system requires more steps:**
1. In the sys-admin’s shell, ssh into the system (e.g. node, VM, etc.) you want to give access to, and then escalate to superuser: ``` sudo su - ``` 2. Create the new user and then add them to sudoers group: - Set an easy temporary password for the user (e.g. password) ``` adduser [USER] usermod -aG sudo [USER] ``` 3. Switch the newly created user account: ``` sudo su [USER] - ``` 4. Import the user’s GitHub keys so they can ssh from their computer: ``` ssh-import-id-gh [GITHUB USERNAME] ``` 5. Have user ssh into the system and change their password into something secure: - If any new SSH keys from other devices are added, this command needs to be done again ``` passwd ``` *Last Updated: 2/22/2025 Contributors: Lilian, Vivian* # 3.0 Using SSH --- ##### ****SSH into a System**** 1. Open up a new shell (e.g. PowerShell) 2. Type in the following: ``` ssh [USERNAME]@[IP ADDRESS] ``` ****OR**** ``` ssh [HOST] ``` ****IMAGE SHOWING A SUCCESSFUL SSH ACCESS:**** [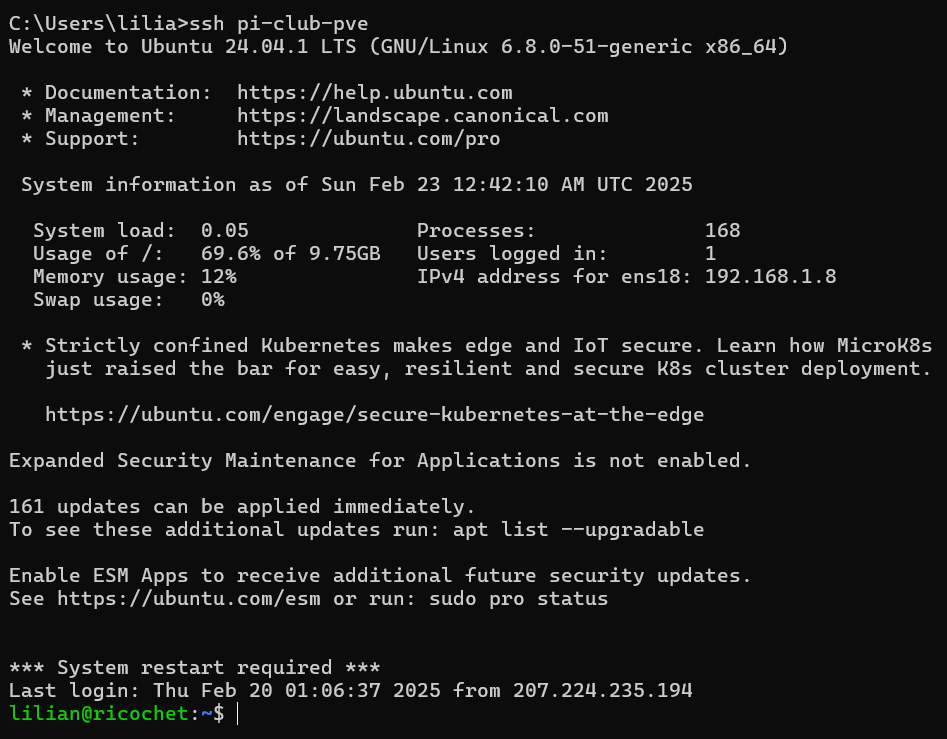](https://wiki.raspberrypiclub.org/uploads/images/gallery/2025-02/Z8Fimage.png) # 4.0 SSH Configuration File --- The SSH configuration file is used to control the behavior of the SSH client and server, respectively. Client configuration (which is the focus for this document) allows users to define preferences for SSH connections, such as default usernames, key files, ports, and more. ##### ****Creation**** 1. Locate the .ssh folder 2. Create a new file in the folder and rename it "config" (make sure to not have any extension) ##### ****Common Directives**** ****1. Defining Hosts**** The `Host` directive allows users to create shortcuts for SSH connections. ``` Host [SERVER] HostName [IP ADDRESS] ``` e.g. Instead of typing `ssh user@[IP ADDRESS]`, users can simply type: `ssh server-name` ****2. Specifying a Username**** If the remote username is different from the local one. ``` Host [SERVER] User [USER] ```e.g. Now, `ssh myserver` will default to `myuser@[IP ADDRESS]`
****3. Setting a Custom SSH Port**** By default, SSH uses port `22`, but some servers use custom ports for security. ``` Host [SERVER] Port [PORT] ```e.g. Now, `ssh myserver` will connect to `10.10.1.100` on port `1666`
****4. Local Port Forwarding**** Allows a user to securely tunnel traffic from a local machine to a remote server through SSH. ``` LocalForward [local_port] [destination_host]:[destination_port] ``` ****EXAMPLE:**** ``` Host pi-club-is-cool HostName raspberrypiclub.org User lilian LocalForward 8006 10.10.10.50:8006 ``` - When you connect using `ssh pi-club-is-cool`, SSH will: - Log in to `raspberrypiclub.org` as user `lilian` - Forward your **local port* `8006`* to `192.168.1.18:8006` through the SSH connection - Any requests made to **localhost:8006** on your local machine will be securely sent to **10.10.10.50:8006** via `raspberrypiclub.org` --- **Last Updated: 3/5/2025** **Contributed by: Lilian**